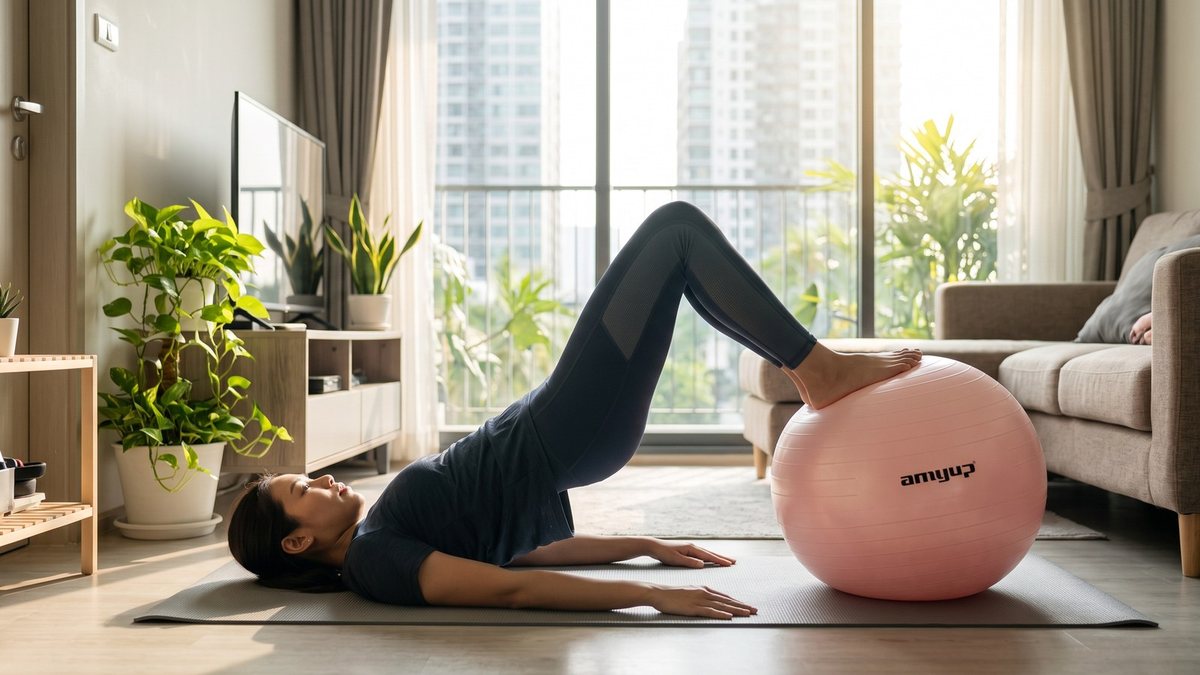
A yoga ball (exercise ball) is one of the easiest tools for training at home. Inflate it properly, start next to a wall, and the seven beginner exercises below will work your legs, glutes, back and core. Move slowly and control the ball on every rep.
Because the ball never stays still, your body keeps correcting to stay balanced, so even a simple bridge or plank gets harder on it.
What size yoga ball do you need?
Sit on a fully inflated ball with your feet flat. If your hips are level with or slightly above your knees, the size is right. Knees clearly higher than hips means the ball is too small; feet that cannot rest flat mean it is too big. A 65 cm ball suits many adults, but leg length varies, so trust the sitting test over height alone.
How to inflate an exercise ball correctly
- Inflate to about 80% of full size, plug it firmly and leave it for a day so the material stretches.
- Next day, top it up to full size: mark 65 cm on a wall and inflate until the top of the ball reaches the mark.
- Press down: it should be firm with a little give. A squashy ball is harder to balance on.
Check firmness every few weeks and top up as needed.
7 yoga ball exercises for beginners
Do 2–3 sets of 10–12 reps (or 15–30 second holds), rest 45–60 seconds, 2–3 days a week.
1. Wall squat with ball
- Put the ball between your lower back and a wall, feet hip-width apart and slightly forward.
- Squat slowly, letting the ball roll down your back, to near-parallel or as low as is comfortable.
- Drive through your heels to stand back up.
Common mistakes: feet too close to the wall, and knees caving inward on the way up.
2. Glute bridge on the ball
- Sit on the ball and walk your feet out until it supports your upper back.
- Feet flat, knees bent about 90 degrees, hips low.
- Squeeze your glutes and press your hips up to a flat tabletop. Hold 1–2 seconds, lower slowly.
Common mistakes: arching the lower back to push higher, and craning the neck. Keep your gaze on the ceiling.
3. Hamstring curl
- Lie on your back, heels and calves on the ball, arms by your sides.
- Lift your hips until your body is straight from shoulders to heels.
- Bend your knees to roll the ball in, then straighten slowly, hips still up.
Common mistake: hips sagging as the legs extend. If it is too hard, just hold the bridge.
4. Dead bug ball pass
- Lie on your back, ball held above your chest, knees lifted and bent at 90 degrees.
- Pass the ball to your legs and squeeze it there. Reach your arms overhead and lower your legs a little.
- Return and pass the ball back to your hands. That is one rep.
Common mistake: the lower back lifting. Keep it pressed into the mat.
5. Plank on the ball
- Kneel in front of the ball and rest your forearms on it, hands clasped.
- Step your legs back one at a time, feet slightly wider than your hips for a stable base.
- Brace your abs and glutes so your body is straight from head to heels. Hold for 15–30 seconds.
Common mistake: hips sagging or piking up. If you shake a lot, start with your knees on the floor.
6. Back extension on the ball
- Lie face down over the ball so it sits under your hips and stomach. Brace your toes on the floor or a wall.
- Rest your hands lightly by your head and let your torso round over the ball.
- Lift your chest until your body is in line with your legs, hold 1–2 seconds, lower.
Common mistake: swinging up or over-arching. A straight line is the top of the movement.
7. Seated balance
- Sit in the centre of the ball, feet flat and hip-width apart, back tall, hands touching the ball.
- Lightly brace your core and lift one foot just off the floor. Hold for 10–20 seconds.
- Switch sides. Once steady, take your hands off the ball.
Common mistakes: leaning back to compensate, and lifting the foot too high on the first attempts.
Safety tips
- Clear the floor: a body length of space, no sharp corners or cables nearby.
- Start near a wall or sofa so you have something to grab.
- Non-slip surface: a mat under the ball, bare feet or grippy shoes, never socks on tiles.
- Check the ball for scratches or thin spots; keep it away from sharp objects and strong sun.
- If something hurts, stop and rest. If it does not settle, see a doctor or physiotherapist.
Common beginner mistakes
- Under-inflating: your hips sink and balance gets harder.
- Rushing to hard moves: master seated balance and wall squats before planks and curls.
- Moving too fast: speed swaps muscle for momentum.
- Narrow stance: start with feet wide and narrow them as you get stronger.
- Holding your breath: exhale as you push, inhale as you return.
Want more strength work at home? Alternate your ball sessions with this 8-exercise full-body resistance band workout.
Gear for your yoga ball workout
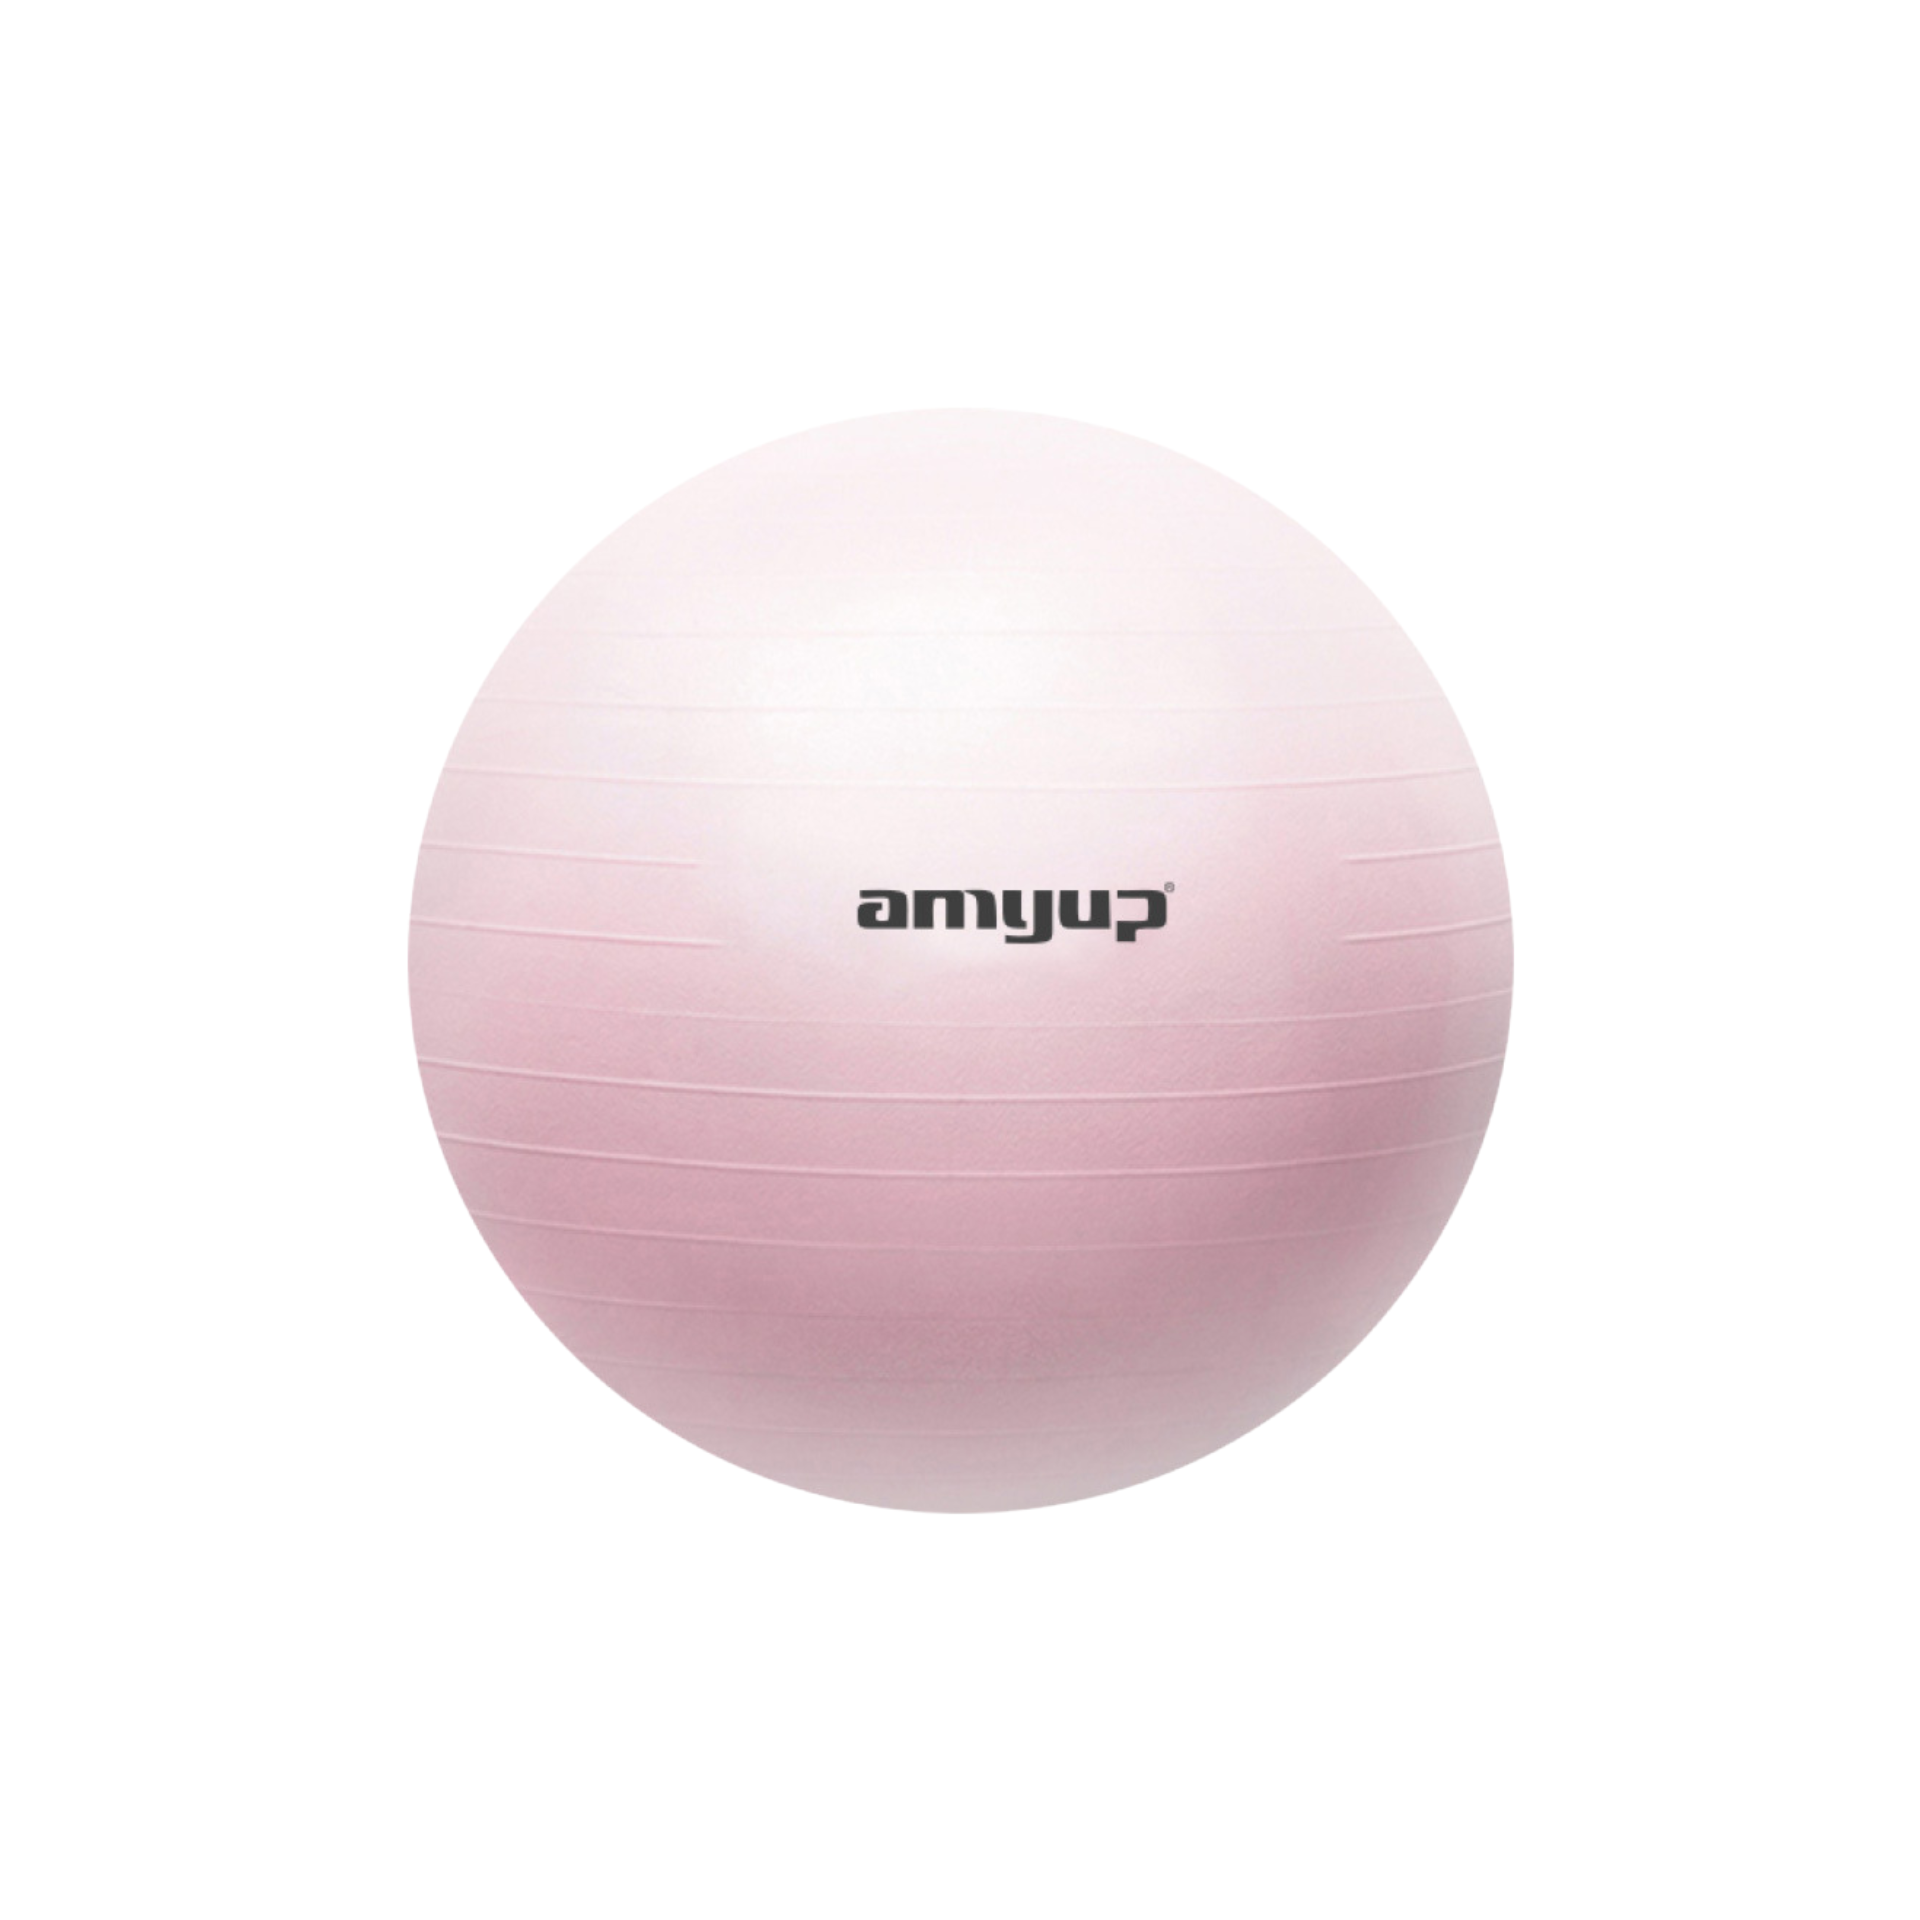
The amyup Yoga Ball 65 cm is made from thick, highly elastic PVC with an anti-slip surface, supports up to 200 kg, weighs 1 kg and comes in pink or grey.
| Model | Size / key spec | Best for |
|---|---|---|
| amyup Yoga Ball | 65 cm diameter, up to 200 kg | All 7 exercises above, balance and core work |
| Yoga Wheel | 31 x 12.5 cm, up to 200 kg, non-slip surface | Stretching and making yoga easier for beginners |
| Fittergear Pro Bands | Long loop bands, 8 levels, natural latex | Adding resistance to home strength training |
One ball covers every move here; add the wheel for stretching or a band for strength.
FAQ
Who is a 65 cm yoga ball right for?
Most adults. If your hips sit level with or slightly above your knees when seated, it fits; if slightly low, add air first.
Can I use a yoga ball every day?
Seated balance, yes. For curls and planks, rest the same muscles a day between sessions.
Can I use an exercise ball as an office chair?
For short spells, yes, but not all day: muscles tire and posture slips. Regular walk-and-stretch breaks work better.